Create desktop app screenshots for websites and presentations
A desktop app screenshot generator helps you explain a wide software workspace in a marketing image. The intended destination might be a product page, launch announcement, sales presentation or support article. Start by identifying the task the image should communicate. A dashboard overview and a close view of an editing interaction need different arrangements, even when they come from the same application.
This tool gives you a landscape canvas with editable captions, backgrounds and original monitor, laptop or browser frames. Import a real capture and build a composition around the useful part of the interface. The default dimensions are for general desktop marketing, so check the requirements of your destination rather than treating them as a universal app-store submission size.
Choose desktop dimensions for the actual placement
The generator opens at 1920 × 1080 pixels, a 16:9 landscape canvas. Other generic desktop outputs include 2560 × 1440 and a 2880 × 1800 option. Select a preset or use the custom size controls according to the image's intended location. A presentation slide, product card and full-width website banner may need different proportions and different amounts of detail.
Check how the destination handles images before arranging important content near the edges. A website component may crop to fill a fixed box, while a slide may show the complete file. Keep key interface evidence in a region that remains visible in that placement. If you need Mac App Store assets, use the separate Mac workflow and its platform-specific dimensions.
Capture a desktop workspace people can understand
Choose a coherent application state with realistic demonstration content. A project dashboard should show an organized project; a design tool should show a useful document or result. Remove unrelated windows, personal file names, browser extensions and notifications when they are not part of the story. A clean capture makes it easier to explain the software without adding layers of promotional decoration.
Decide whether you need the whole window or a closer view of one feature. Wide interfaces can contain many small controls that become unreadable when placed inside another image. Start with a sufficiently detailed capture and check it at the final display size. A focused screenshot often communicates more clearly than a complete workspace reduced to a tiny rectangle.
Choose a browser, laptop or monitor mockup
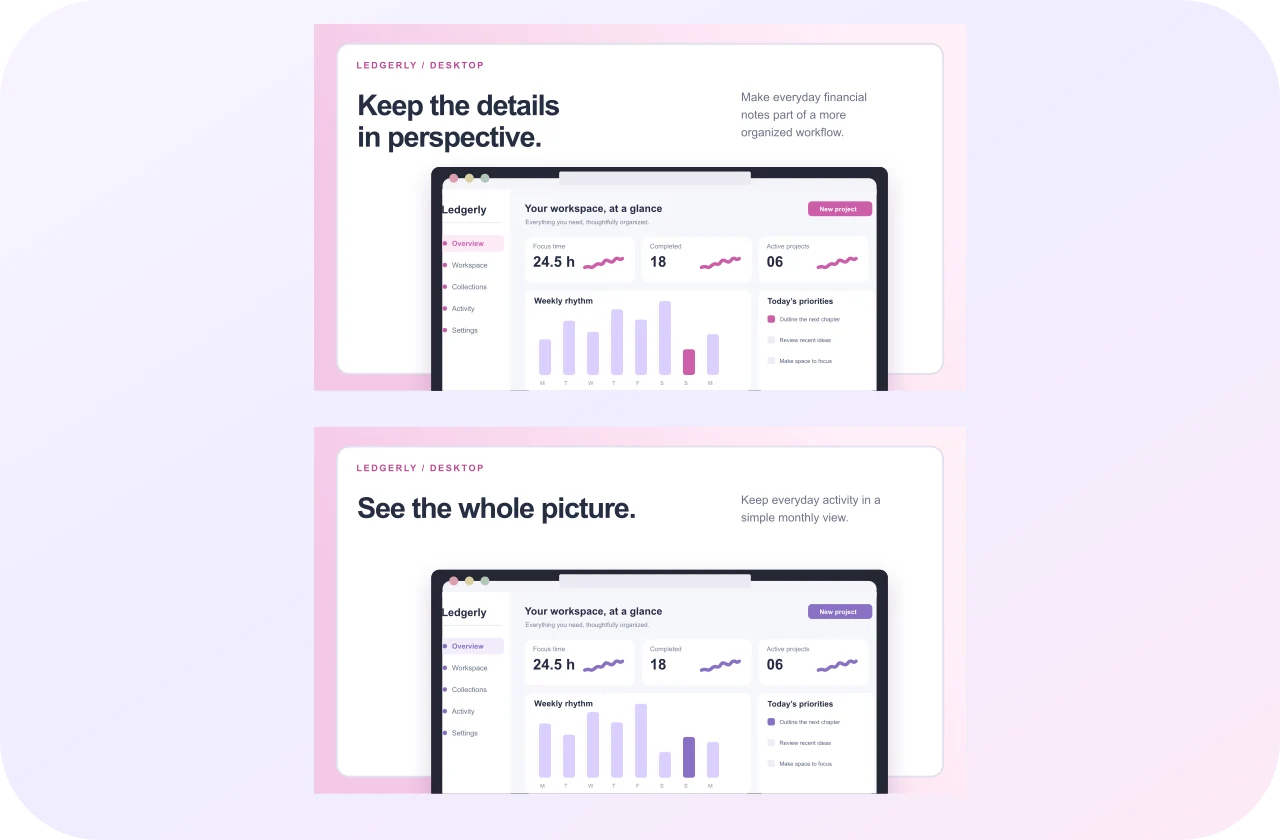
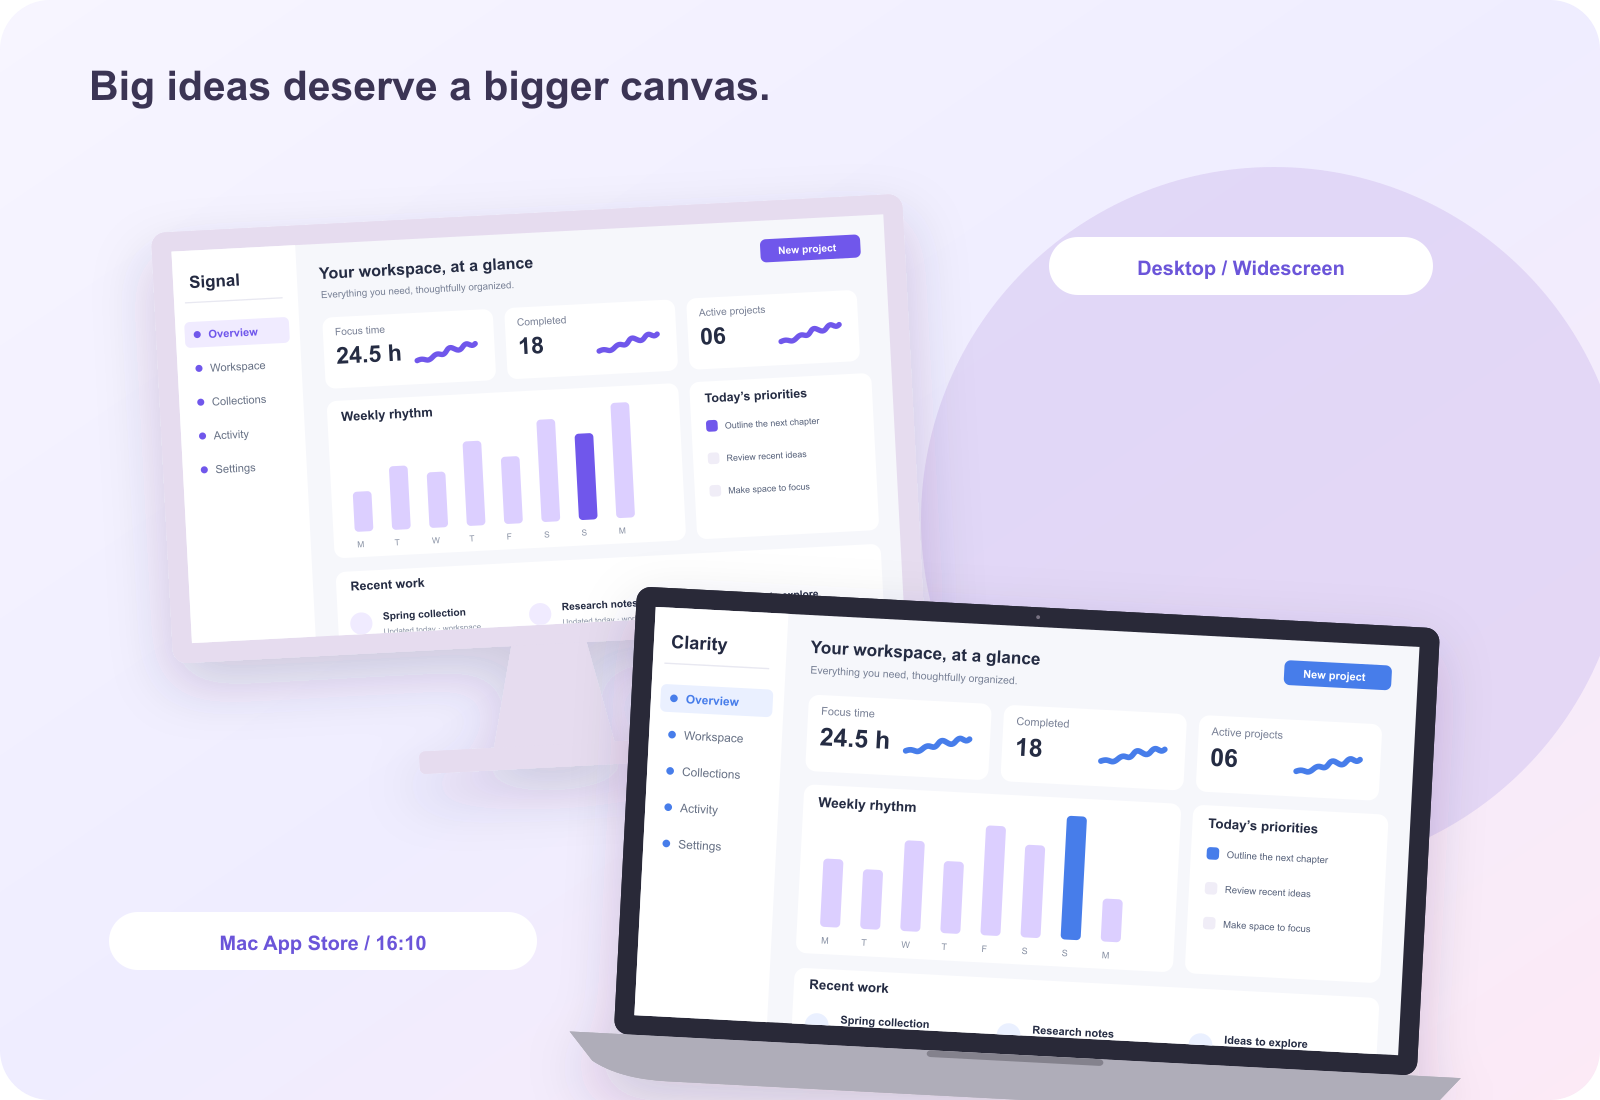
Use a browser frame when window context helps explain a web application. A laptop or monitor illustration can suit a launch presentation or an overview of desktop software. An unobstructed screenshot may be better for technical documentation or a detailed product comparison. Select the treatment for the viewer's needs rather than adding a frame to every image by default.
Keep the bezel and surrounding decoration secondary to the interface. A visually heavy monitor can consume valuable space that a chart or document needs. Compare the framed result with a simpler version and inspect the screenshot crop. The output size remains independent of the decorative device, so you can change the illustration without silently changing the delivery dimensions.
Write a headline for one desktop software benefit
Use the headline to identify the task demonstrated by the screenshot. See every project at a glance gives a dashboard a clear purpose. A long list of technical features asks the viewer to work harder before understanding the image. Keep the statement specific, accurate and suited to the audience, whether the software serves creators, researchers, developers or business teams.
Make the title distinct from the application's own interface text. Leave space around toolbars and panels so promotional copy does not appear to be a control inside the product. Use strong contrast and shorten supporting text where possible. When the image appears inside a webpage that already has a headline, consider whether another large title inside the graphic is useful at all.
Build a consistent set for a desktop product story
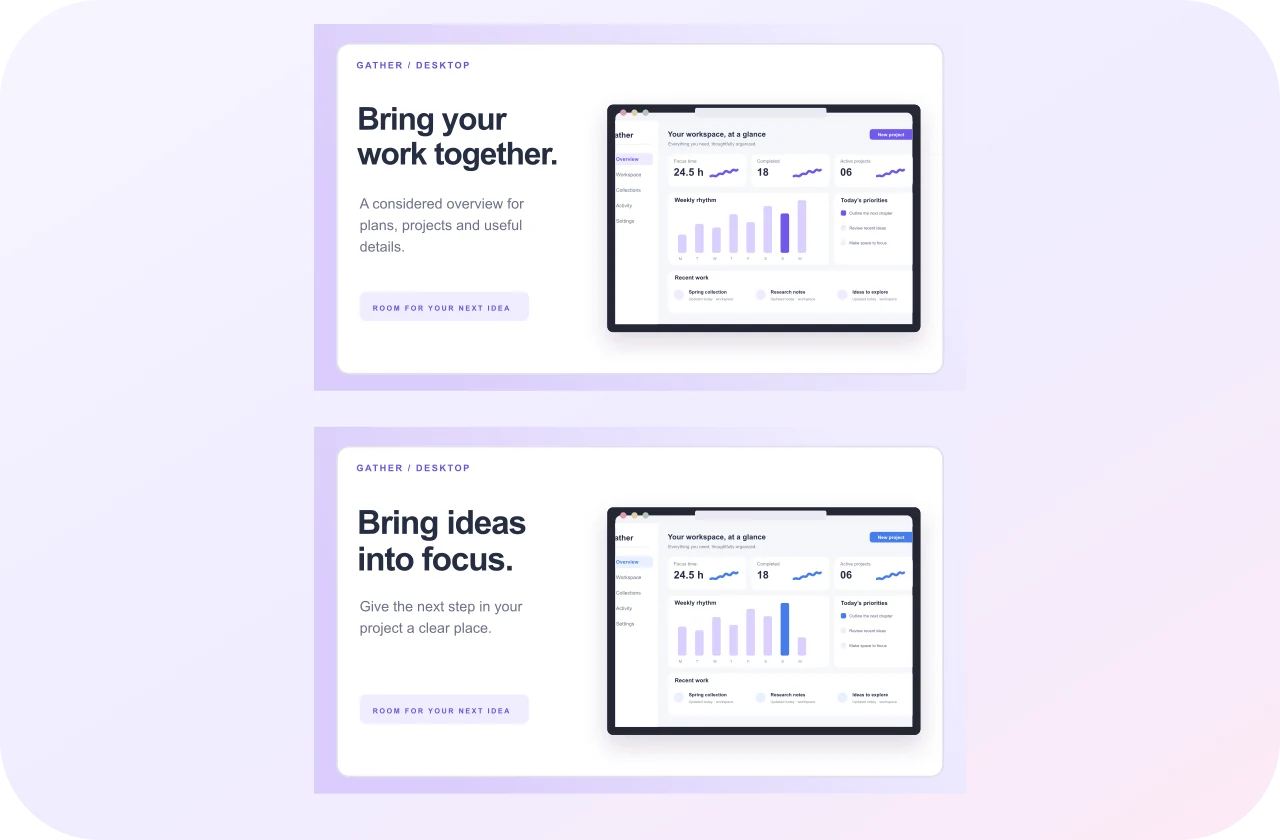
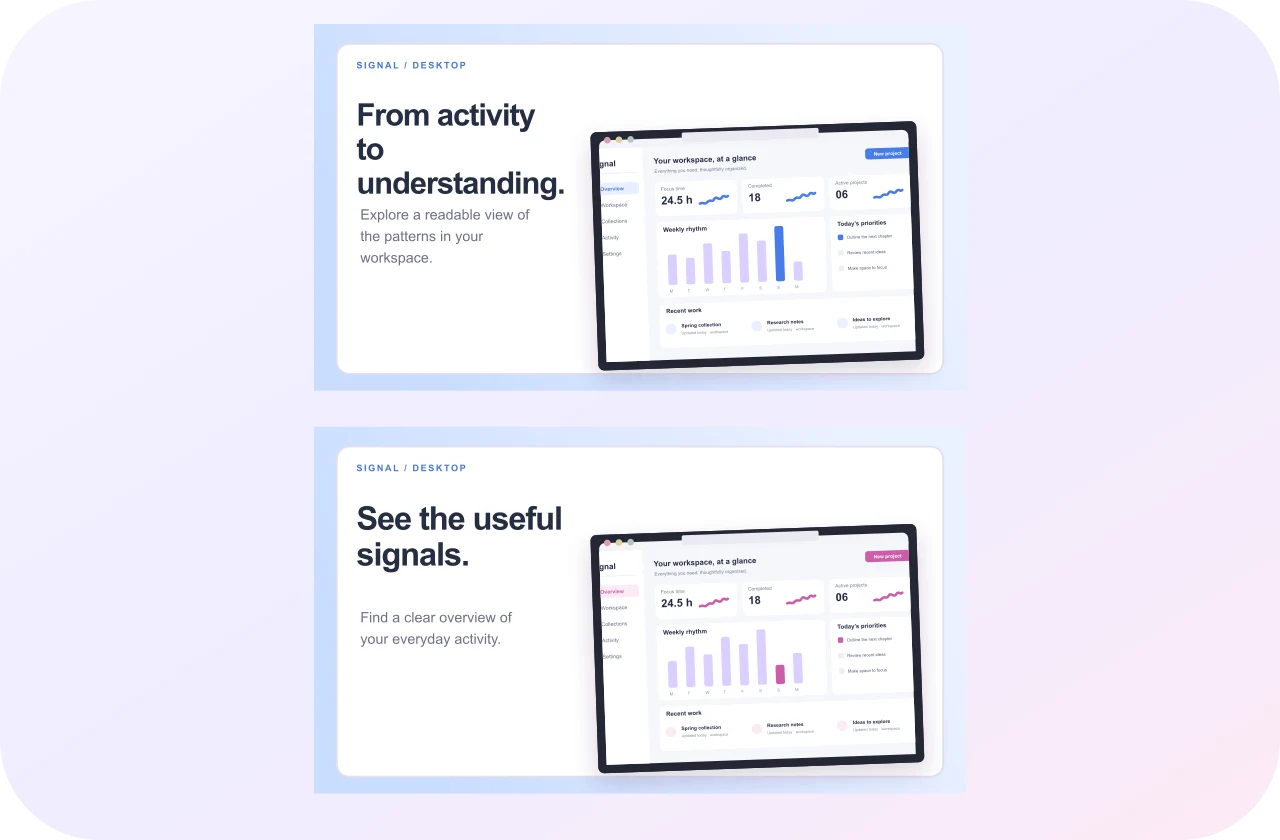
Create several panels when one image cannot explain the workflow. Introduce the workspace, demonstrate a useful action and show the finished outcome. Reuse the same sample document or project to make the connection obvious. Keep backgrounds, typography and repeated margins consistent, while allowing a detailed screen to occupy more space than a simple overview.
Use the page controls to reorder the sequence and inspect it in All screens view. For individual placements such as website cards, review each panel separately as well. A connected background can create continuity, but an isolated image should not depend on its neighbor for essential meaning. Export the set as separate images so each can be placed where it supports the surrounding content.
Check desktop exports at full size and display size
Download a panel as an opaque PNG or JPEG. PNG is a useful starting point for text-heavy interfaces, while JPEG deserves a careful visual check when the composition contains detailed labels or thin lines. Use the ZIP option for a complete numbered set. Inspect the actual file dimensions and open the image outside the editor before adding it to your website or presentation.
Review the deployed placement too. A crisp full-size image can become unhelpful if the webpage displays it in a narrow column or crops an important sidebar. Test the placement on a smaller screen and make a dedicated crop when necessary. If the source image includes promotional text, provide an appropriate text alternative in the destination rather than relying solely on words embedded in pixels.
Keep reusable desktop artwork for future updates
Save a project JSON backup with your source captures and exported images. Local drafts remain in the browser used to create them; a backup lets you reopen the layered design elsewhere. Use filenames that identify the placement and product version. Separate a website hero project from a documentation image when their crops or explanations need to evolve independently.
When the application interface changes, review every published image that uses the old capture. Replace outdated screens, revise the headline where behavior has changed and export a new set. Maintaining a small library of editable source projects makes those revisions more manageable. It also helps preserve a consistent visual identity across launches, product pages and presentations without reusing inaccurate screenshots.
Desktop app screenshot generator FAQs
Are these generic desktop sizes approved for every store?
No. They are general marketing outputs. Different stores and placements have their own requirements, so confirm the destination before export. For Mac App Store images, use the dedicated Mac tool. A monitor illustration does not determine whether the downloaded file matches a particular submission field.
Can I create a screenshot for a browser-based application?
Yes. Import your own web app capture and choose a browser frame or a simpler image treatment. Keep personal account details and unrelated browser elements out of the source capture. Review the final image at the size it will occupy on your product page or slide.